
Key takeaways
- The Question: What should a construction QA/QC checklist contain at each stage of a building project, and what proof should each check leave behind?
- The Answer: A usable checklist is organised by stage and by trade, and every line states the pass condition, who inspects and which evidence gets filed. The tables below cover pre-construction, substructure, frame, envelope, MEP, finishes and handover, plus a quick card for each key trade.
- The YelloSKYE Angle: Construct IQ supplies much of that evidence: dated drone, 360°, fixed-camera and laser-scan captures in the DEX platform, with issues tagged directly on the site visual.
A construction QA/QC checklist is a list of the checks each element must pass before work moves on, with the acceptance condition for each check and the evidence to keep. The version below is organised by build stage and then by trade, so you can copy the relevant tables into your own inspection test plan and adjust tolerances to your specification. Every line names the proof to record, because a tick with nothing behind it is hard to defend later.
This page is the checklist itself. For why inspection points sit where they do and how hold and witness points work, read our guide to construction quality control. Much of the evidence listed here can come from routine site capture through Construct IQ, YelloSKYE's construction monitoring solution.
How to read the tables
Each stage table has four columns: the check, the condition that counts as a pass, the inspection type, and the evidence to file. Tolerances are written as "as specified" on purpose: use the figures in your own specification and standards, not generic ones.
Inspection type
| Code | Meaning on this checklist |
|---|---|
| S | Self-check by the trade, recorded before calling the main contractor |
| W | Witness: inspector notified and may attend |
| H | Hold: work stops until a named person releases it |
| R | Review of records, on site or from the office |
Evidence codes
| Code | What to file |
|---|---|
| P | Dated photos: one wide shot that shows where you are, one close-up of the detail |
| 360 | A 360° walk of the area along the project's standard capture route |
| LS | Laser scan, registered and compared with the design model |
| DR | Drone capture: orthomosaic, elevation imagery or survey data |
| M | Measurement record: levels, dimensions, readings, with the instrument used |
| T | Test result or certificate, referenced to the exact element or system |
| SIG | Name, role and date of the person who accepted the work |
Every completed check should also carry a short header: location (level, zone, gridline or room), drawing and specification revision, trade, inspector and date. Our guide to construction site inspections explains each of these fields in more detail.
Stage 1: Pre-construction set-up
These are quality assurance checks. Nothing is built yet, but most later failures trace back to a gap here.
| Check | Pass when | Type | Evidence |
|---|---|---|---|
| Quality plan issued | Every stage has a named inspector and a deputy | R | Signed plan, distribution list |
| ITP for each trade package | Every covering activity has a check directly before it | R | ITP register with revision |
| Drawing control | Site sets match the current revision register | R | Dated register extract |
| Material submittals | Approved before ordering; samples stored on site | H | Approval record, P of samples |
| Mock-ups and benchmark areas | Standard agreed by designer and owner | H | P and 360 of the mock-up, SIG |
| Existing conditions | Site, neighbouring buildings and services recorded | R | DR, P |
| Survey control | Control points set out and independently checked | W | M, coordinate listing |
| Capture plan | Route, frequency and who captures are agreed | R | Capture schedule |
Stage 2: Substructure
Almost everything here is buried within days, so most checks are hold points.
| Check | Pass when | Type | Evidence |
|---|---|---|---|
| Formation level and bearing | Levels and ground as designed, base not softened by water | H | M, DR or P, geotechnical sign-off |
| Piles | Position, depth and integrity as specified | H | Pile log, T, as-built positions (M) |
| Below-ground drainage | Falls, bedding and joints correct; test passed | H | T, P, M |
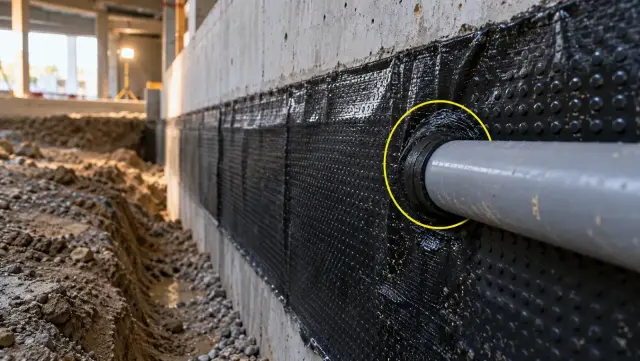
| Waterproofing or tanking | Laps continuous; corners and penetrations detailed; no damage | H | P per detail, 360 of each wall |
| Foundation reinforcement | Bar sizes, spacing, cover, laps and starter bars as drawn | H | P, M, SIG on pour release |
| Ground slab preparation | Membrane, insulation and service stubs in position | H | 360 or P, M |
| Backfill | Approved material placed and compacted in layers | W | T (compaction), P |
Stage 3: Frame
The pour is the big covering event. Record the deck fully before concrete arrives.
| Check | Pass when | Type | Evidence |
|---|---|---|---|
| Formwork | Line, level, plumb, stable and clean | S, W | M, P |
| Reinforcement | Matches drawings; spacers give the specified cover | H | P, 360 or LS before the pour |
| Cast-in items | Sleeves, embeds, anchor bolts and conduits match the coordinated model | H | LS or 360, M |
| Concrete delivery | Approved mix confirmed, samples taken | W | Delivery tickets, T |
| Curing and striking | Method and striking times as specified | S | Curing log |
| Post-pour survey | Slab levels, column positions and openings within tolerance | R | LS, M |
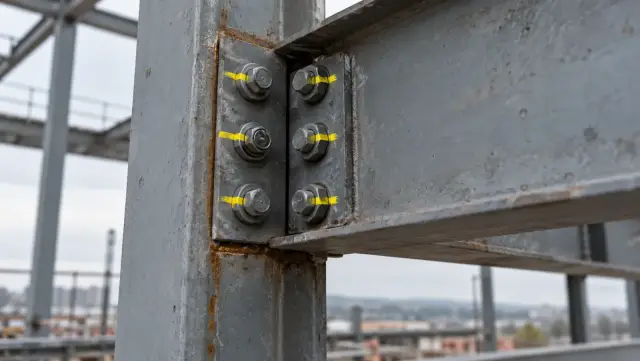
| Structural steel | Connections complete, bolts marked as tightened, alignment checked | H | P, M, T |
| Masonry | Wall ties, movement joints and lintels in place | W | P |
Where tolerances are tight, a scan beats a tape. On YelloSKYE's as-built versus BIM clash detection work, a terrestrial laser scan taken after a structural stage is overlaid on the design model in Revit or Navisworks, so a misplaced column or missing sleeve is found before follow-on trades start.
Stage 4: Envelope
| Check | Pass when | Type | Evidence |
|---|---|---|---|
| Brackets and fixings | Type, spacing and embedment as designed | H | P per bay, T (pull-out tests) |
| Air and vapour control layers | Continuous, taped and sealed at every junction | H | P, 360 |
| Cavity barriers and insulation | Positioned as drawn, no gaps | H | P per elevation zone |
| Windows and doors | Installed, packed and sealed; drainage path clear | W | P, T (water test) |
| Cladding | Panel alignment, joint widths and fixings as specified | S, R | DR elevation capture, M |
| Roofing | Substrate, falls, laps, upstands and outlets correct | H | DR, P, T (leak test) |
| Sealants | Correct product on prepared joints | S | P |
Elevations are slow to check from the ground. A facade inspection from a desk uses a dated high-resolution map of each elevation in DEX, with the elevation drawing laid over it, so reviewers can measure and mark issues before deciding what needs a close-up visit.
Stage 5: MEP installation
| Check | Pass when | Type | Evidence |
|---|---|---|---|
| Routing and clearances | Services follow the coordinated model | W | 360, LS |
| Supports and brackets | Type and spacing as specified | S | P |
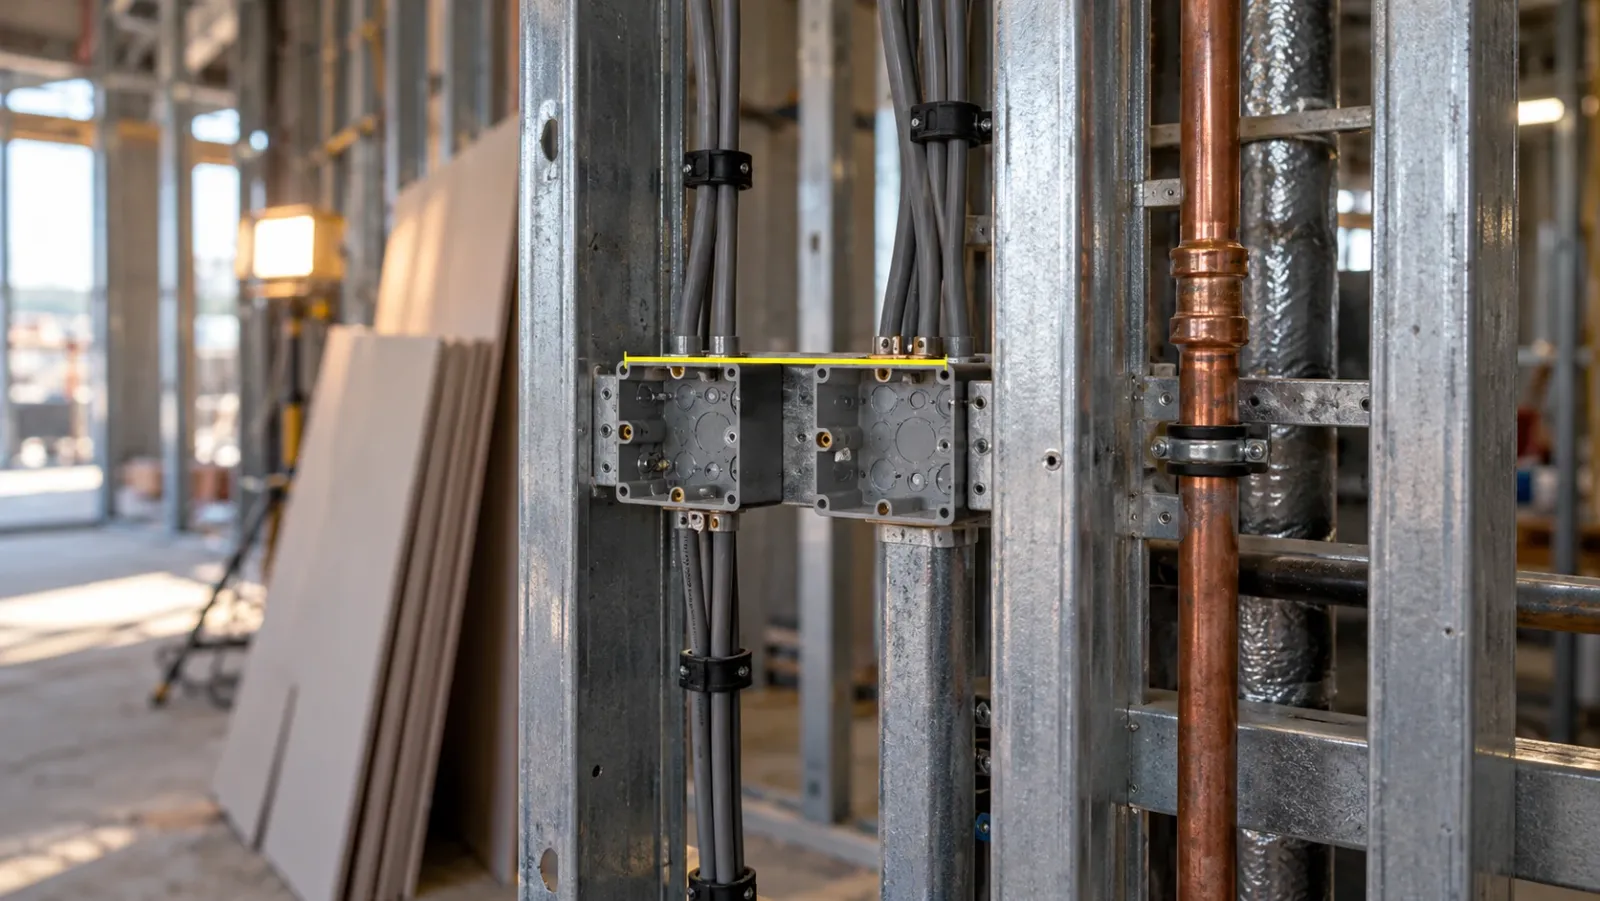
| Electrical first fix | Containment, back boxes and cables positioned and segregated | S, W | 360 before boarding |
| Pipework pressure tests | Test held for the specified duration with no loss | H | T referenced to system and zone |
| Ductwork leakage tests | Within the specified limit | H | T |
| Insulation and labelling | Complete and readable | S | P |
| Fire stopping at penetrations | Approved system, complete, labelled | H | P of each penetration, register |
| Commissioning | Systems perform to the design | W | T (commissioning sheets) |
Stage 6: Finishes and fit-out
| Check | Pass when | Type | Evidence |
|---|---|---|---|
| Partitions before closing | Services tested, backing for fixtures and acoustic insulation in place | H | 360 of each room |
| Board and joint finish | Flatness and joints as specified | S | P |
| Screed | Level, thickness and moisture content suitable for the floor finish | W | M, T |
| Wet areas | Waterproofing complete and tested before tiling | H | P, T (flood test) |
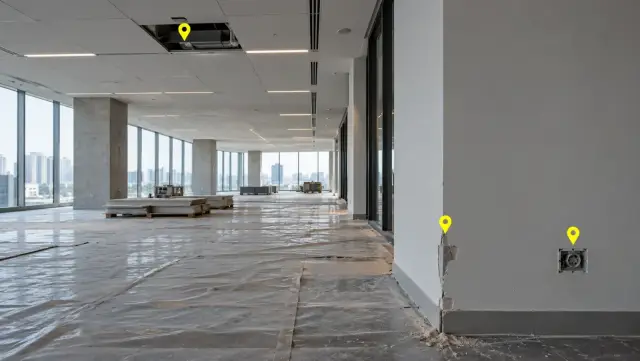
| Ceilings | Grid level; access panels where the services need them | S, W | 360 |
| Joinery and fittings | Securely fixed and operating | S | P |
| Decoration | Matches the approved sample | S | P beside the mock-up record |
| Protection | Finished work protected from following trades | S | P |
On YelloSKYE's interior fit-out projects, 360° walks are captured by ordinary site staff with no specialist technician, and each image is mapped to its place on the floor plan. Teams reported 70% less coordination time and snags closing five times faster.
Stage 7: Handover
| Check | Pass when | Type | Evidence |
|---|---|---|---|
| Contractor's own zone inspection | Every zone walked and defects recorded | R | 360 per zone |
| Punch items | Each item closed against a photo of the fix | R | P before and after, SIG |
| Test and commissioning file | Every system has its certificates | R | T index |
| Manuals and warranties | Complete for every installed product | R | Document register |
| As-built information | Drawings or model updated to what was built | R | LS, M |
| Visual record | Owner and operator have access to the full capture history | R | Access confirmation |
| Defects period plan | Reporting route and response times agreed | R | SIG |
How to run the closeout list itself is covered in our construction punch list guide. On the warehouse operator handover use case, the operator was given role-based access to the full visual history in DEX at completion, and there were no documentation disputes after handover.
Trade cards
Stage tables follow the building. Trades work across several stages, so give each trade its own short card. Pin these into the subcontract package and ask for the evidence column at every hand-over between trades.
| Trade | Before starting | Before work is covered | Evidence the trade hands over |
|---|---|---|---|
| Concrete | Formwork accepted; mix approved; pour plan agreed | Reinforcement, cover and cast-ins released (H) | Pour release, delivery tickets, cube or sample results |
| Structural steel | Foundation bolts surveyed; erection sequence agreed | Connections inspected before fire protection | Bolt check record, weld tests, P of connections |
| Waterproofing and roofing | Substrate dry, clean and accepted | Every lap, corner and penetration inspected (H) | P per detail, leak or flood test |
| Electrical | Routes coordinated; containment drawings current | First fix recorded before boarding | 360 of each room, test schedules |
| Mechanical and plumbing | Routes coordinated; supports agreed | Pressure or leakage test passed (H) | T per system and zone, 360 |
| Fire stopping | Approved systems listed for each penetration type | Every penetration sealed and labelled (H) | P and register entry per penetration |
| Drylining and ceilings | Services above and behind signed off | Room recorded before boards go on (H) | 360 of each room, P of backing |
| Finishes | Substrate accepted; samples approved | Not applicable: inspect on completion | P against mock-up, snag list |
What counts as good evidence
The evidence column is only useful if someone can find and trust it later. Apply these rules to every type.
| Evidence | Good enough when |
|---|---|
| Photo | The wide shot shows a gridline, door or other fixed reference; the close-up includes a tape or scale where size matters |
| 360° walk | Taken on the same route each time and placed on the floor plan, so two dates can be compared |
| Laser scan | Registered to project coordinates and compared with the model, with the deviations reported |
| Drone capture | Dated, covering the whole area being checked, and comparable with the previous flight |
| Test certificate | Names the system, the zone and the test standard, and is filed with the check it supports |
| Measurement | States the instrument, the reading and the specified tolerance |
Where an issue is found, raise it on the record rather than in a message. Construct IQ uses geo-referenced annotations, so a non-conformance is tagged directly on the site visual and the contractor sees exactly where and what needs fixing. DEX also lets reviewers scroll back through the site history day by day, which helps when a fix needs to be compared with the original condition.
Non-conformance log: the columns to keep
| Column | Example entry |
|---|---|
| Reference | NCR-L3-014 |
| Location | Level 3, gridline C/4, riser cupboard |
| Check it failed | Fire stopping at penetrations |
| Description | Two cable trays unsealed through the compartment wall |
| Evidence | P (wide and close), 360 capture of the riser |
| Owner and due date | Fire stopping contractor, before ceiling closure |
| Corrective action | Seal with approved system and label |
| Closure evidence | P from the same position, SIG of verifier |
| Root cause noted | Trade briefing missed cable tray detail |
The last column is where QC feeds QA. If the same root cause appears on several floors, change the method or the briefing, not just the defect.
Adapting this checklist to your project
- Copy the stage tables that apply. A fit-out job may only need Stages 1, 5, 6 and 7.
- Replace "as specified" with real numbers. Pull tolerances, test durations and limits from your specification.
- Check the inspection types against your quality plan. Add hold points wherever your contract or authority requires attendance.
- Name people, not roles. Each H line needs a person who can release it the same day.
- Match the evidence to your capture routine. Time 360° walks and scans to the covering events, not to a fixed weekday.
- Issue the trade cards with the subcontracts. Trades should know what evidence they owe before they mobilise.
- Review the non-conformance log weekly and update the checklist when a fault repeats.