Pre-Pour Inspection Checklist: What to Verify Before Concrete Is Placed
By Kush Agarwal, President and CEO, YelloSKYE. Published .
Executive Summary
- The Question: What should be checked before a concrete pour, and when should it be captured so that problems can still be fixed?
- The Answer: Check formwork, reinforcement, cover, cast-in items, services and readiness against the drawings, early enough to correct what is wrong. Record the whole element before release, because once the concrete is placed the only evidence of what is inside it is what you captured beforehand.
- The YelloSKYE Angle: Construct IQ captures decks by drone and 360° camera ahead of pours, and BIM IQ laser scans compare placed elements with the design model where tolerances are tight.
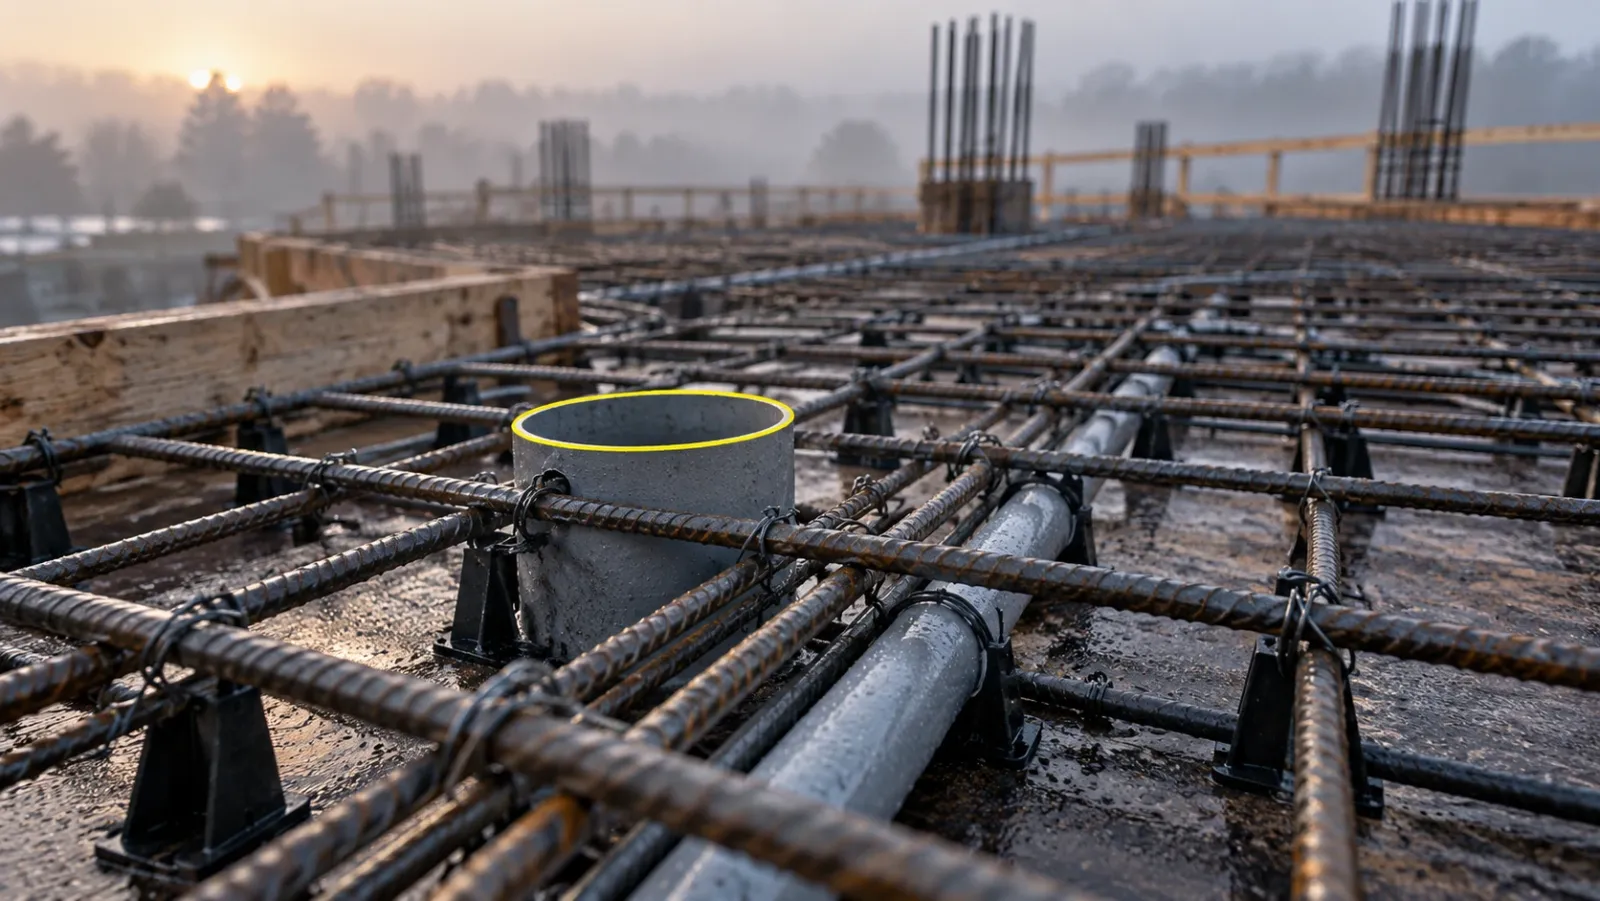
A pre-pour inspection checks everything that will end up inside or against a concrete element before the concrete arrives: formwork, reinforcement, cover, sleeves, embeds, conduits and drains. It ends with a pour release, a signed decision that the element is ready. Because hardened concrete cannot be adjusted, this is one of the few inspections on site where a missed item is almost always expensive.
This guide gives a checklist you can adapt to slabs, walls, columns and foundations, explains how to time the inspection so corrections fit before the pour, and shows how to capture the deck so the record is useful long after it is buried. We approach this through Construct IQ, combining aerial, 360° and laser scan capture of the structure as it rises.
Why the pour is the hardest deadline on site
Most construction work can be adjusted after the fact, at a cost. A misplaced partition can be moved; a wrong light fitting can be swapped. Concrete is different. Once it is placed and begins to set, the reinforcement, sleeves and embeds inside it are fixed for the life of the structure.
That changes what a mistake costs. A sleeve left out of a slab means coring through it later, which usually requires the structural engineer to approve the location, a scan to avoid cutting reinforcement or post-tensioning tendons, and the coring crew's time. A cast-in plate in the wrong place means a post-fixed alternative that may need its own design. Low cover means repair work and a durability question that may never fully go away. Each of these also delays the trades waiting to work in that area. Our guide to the cost of rework in construction looks at how these costs add up across a project.
The pour itself also sets the pace. Concrete deliveries, pumps and finishing crews are booked days ahead and are costly to cancel. That creates pressure to release a deck that is nearly ready. A clear checklist and a planned inspection time take that pressure out of the decision.
Who is involved in the pour release
| Party | What they confirm |
|---|---|
| Structural engineer or representative | Reinforcement, cover and any changes to openings agreed |
| Formwork contractor | Formwork and falsework are complete, stable and to line and level |
| Reinforcement contractor | Bars are fixed as detailed and spacers are in place |
| Mechanical, electrical and plumbing trades | Their sleeves, conduits, drains and boxes are positioned and secured |
| Concrete contractor | Mix, pump, access, finishing crew and curing method are ready |
| Quality lead or site engineer | All checks are recorded and the release is issued |
| Building authority, where required | Statutory inspection completed; requirements vary by jurisdiction |
A single named person should issue the release. When several people each assume someone else has checked the services, sleeves get missed.
The pre-pour inspection checklist
Group the checks by what they protect. The tables below suit a typical suspended slab; adapt them for walls, columns and foundations.
Formwork and falsework
| Check | What good looks like | Evidence |
|---|---|---|
| Dimensions | Edge of slab, openings and steps match the drawing | Measured offsets from gridlines |
| Line, level and camber | Within the specified tolerance, with camber where designed | Level readings |
| Falsework | Props, bracing and loading as per the temporary works design | Temporary works sign-off |
| Joints and seals | Tight enough to stop grout loss | Photo of edges and joints |
| Release agent | Applied evenly, not on the reinforcement | Visual check |
| Edge protection and access | In place for the pour crew | Safety check record |
Reinforcement and cover
| Check | What good looks like | Evidence |
|---|---|---|
| Bar size and spacing | As shown on the bending schedule and drawings | Tape in frame against bars |
| Laps and anchorage | Lengths and positions as detailed | Measured laps at sample points |
| Additional bars | Trimmer bars at openings, shear links and punching reinforcement present | Photo of each opening |
| Cover | Spacers and chairs at the specified height and spacing, none crushed | Cover meter or gauge at sample points |
| Fixing | Bars tied and stable enough to walk on during the pour | Visual check |
| Starter bars | Positioned for the walls and columns above | Measured offsets from gridlines |
Cast-in items and services
| Check | What good looks like | Evidence |
|---|---|---|
| Sleeves | Every sleeve on the coordinated drawing present, at the right size and position | Deck image overlaid on the sleeve drawing |
| Blockouts and recesses | Formed to size and fixed so they will not float | Photo and dimensions |
| Embeds and anchor bolts | Plates, channels and bolt groups at position and level, with templates where used | Measured positions |
| Conduits and floor boxes | Routed and fixed, ends sealed, boxes at finished floor level | Photo of runs and boxes |
| Floor drains and gullies | Positioned to falls, protected from concrete | Photo and levels |
| Earthing and lightning protection | Connections made where specified | Photo and test where needed |
Joints, cleanliness and readiness
| Check | What good looks like | Evidence |
|---|---|---|
| Construction joints | At agreed locations, prepared and with any waterstop fixed | Photo of each joint |
| Cleanliness | No tie wire, timber, debris or standing water in the forms | Visual check before release |
| Weather | Plan in place for heat, cold, wind or rain during placing and curing | Pour plan |
| Testing | Samples and test regime arranged | Test schedule |
| Logistics | Pump position, truck access, finishing crew and lighting confirmed | Pour plan |
Not every item needs a photograph, but every item needs a recorded result. The ones marked with measured evidence are those most likely to be questioned later.
Timing the inspection so fixes are possible
The most common reason a pre-pour check fails is not that nobody looked. It is that someone looked too late to act. If the first proper inspection happens an hour before the trucks arrive, a missing sleeve gets noted rather than fixed.
A practical rhythm for a suspended slab looks like this:
- During fixing. As the bottom mat and services go in, the services trades check their own items against the coordinated drawing. This is when a missing sleeve is cheapest to add.
- Main inspection, the working day before. The full checklist is completed, the deck is captured, and any defects are listed with owners.
- Correction window. Trades fix the listed items the same afternoon. Each fix is re-photographed.
- Final walk on the morning. A short check that nothing has been displaced by foot traffic or weather, and the release is issued.
Large or complex decks may need the main inspection earlier still. The rule is simple: leave enough time between finding a problem and the first truck to fix the problem.
Capturing the deck before the pour
The capture has two jobs. It helps the inspection by making the whole deck reviewable at once, and it becomes the permanent record of what is inside the slab.
| Method | What it shows well | Limits |
|---|---|---|
| Drone flight over the open deck | The full slab in one measurable image; positions of sleeves, blockouts and edges against the drawing | Cannot see under the top mat or read bar sizes |
| 360° walk on the deck | Every bay in context, plus soffit and edge details from below where accessible | Less suited to precise measurement |
| Terrestrial laser scan | Precise positions of embeds, bolt groups and openings for comparison with the design model | Takes longer to set up and process |
| Phone photos with a tape | Bar sizes, laps, cover and labels close up | Hard to locate later without a plan |
On an open site, a drone flown low over the deck gives the best overall view. YelloSKYE flies RTK-GNSS drones tied to surveyed control points, which keeps positions within 5 cm, enough to spot a missing or badly misplaced sleeve. Where tolerances are tighter, such as bolt groups for steel or precast connections, a laser scan is the right tool. In our as-built versus BIM clash detection use case, terrestrial scans are overlaid on the Revit or Navisworks model so that a missing duct sleeve or misplaced element is found before the next stage starts.
Whatever the method, compare the capture with the coordinated drawing rather than the structural drawing alone. Sleeves and embeds come from the services and architectural design, and it is the coordinated set that shows all of them together. DEX overlays CAD and BIM models on site captures so a reviewer can see each expected sleeve and whether it is there.
Flying over a tower deck or close to occupied neighbours is regulated, and the rules change from country to country. Confirm what your national aviation authority allows before planning flights; the FAA, the UK CAA and the UAE GCAA are examples of such regulators.
After the pour: keep the record useful
The pre-pour capture stays valuable for the life of the building. When a future fit-out needs to core a slab or fix into it, the image shows where the conduits, sleeves and reinforcement lie, which reduces the scanning and trial holes needed. Keep it filed against the level, pour number and gridlines, and add a short post-pour survey of slab levels and opening positions so the record shows what was actually achieved.
The same thinking applies to every element that will later be hidden. Our pre-drywall inspection guide covers the equivalent check before walls and ceilings close, and construction quality control explains how hold points like this fit into a wider inspection plan. If you are capturing structural progress on a regular cycle anyway, as in our aerial progress capture work, time one flight just before each major pour so the deck is recorded without a separate visit.
Why pre-pour checks miss things
- The services drawing is out of date. The trade checks against an old revision and the sleeve for a late change is missing.
- Nobody owns the services check. Reinforcement is inspected carefully, but cast-in items fall between the structural engineer and the services trades.
- Inspection is too close to the pour. Problems are found but there is no time to fix them.
- Displacement after inspection. Sleeves and boxes knocked by foot traffic or the pump line between inspection and placing.
- No record of the passed condition. Defects are photographed, but the correct deck is not, so there is nothing to show later.
Before you release the pour
Run through these points with the person issuing the release:
- Is the coordinated drawing set current, and did every trade check against it?
- Has the structural engineer accepted the reinforcement and cover?
- Is every sleeve, embed, box and drain on the drawing confirmed on the deck?
- Have all defects from the main inspection been fixed and re-captured?
- Is the whole deck captured, by drone, 360° camera or scan, and filed against the pour number?
- Have the formwork, falsework and edge protection been signed off?
- Are the mix, pump, finishing crew, weather plan and testing confirmed?
- Has one named person issued the release in writing?
If any answer is no, the pour waits. A delayed pour costs a day. A missed sleeve can cost far more, and it stays in the building.
Frequently asked questions
What is a pre-pour inspection?
A pre-pour inspection is the check of formwork, reinforcement, cast-in items and services carried out before concrete is placed. It confirms the element matches the structural and coordinated services drawings, and it ends with a formal release that allows the pour to go ahead. Once concrete is placed, anything missed can only be fixed by cutting, drilling or breaking out.
How long before a pour should the inspection happen?
Early enough that corrections can be made without moving the pour date. Many teams hold the main inspection one working day before the pour and a short final walk on the morning itself to check nothing has been disturbed. On large decks with many cast-in items, an earlier interim check while the reinforcement is going in is worth adding.
Who signs off a pour?
The contractor's engineer or quality lead normally issues the pour release, after the structural engineer or their representative has accepted the reinforcement and each services trade has confirmed its cast-in items. Some contracts and jurisdictions also require a building authority inspection. Check your specification and local rules for who must sign.
Why is concrete cover checked before the pour?
Cover is the depth of concrete between the reinforcement and the surface, and it protects the steel from corrosion and fire. If spacers are missing or have been crushed, cover can be too thin, which shortens the life of the structure. It cannot be corrected after the pour without major repair, so it is measured beforehand.
Can a drone inspect a deck before the pour?
A drone flown low over an open deck produces a measurable image of the whole slab, which is useful for checking the positions of sleeves, blockouts and embeds against the coordinated drawing. It does not replace a close inspection of bar sizes, laps and cover, which still needs someone on the deck. Many teams use the drone image for layout and a person or laser scan for detail.